Tuesday, February 4, 2014

FIRESTARTER - The Not-So-Stephen-King-Edition

Do-It-Yourself Fire Starters. 

Over the last year or so, I have really began to notice a lot of references to these little cylinders of incendiary power. Even television has offered up a few poignant nods to them, such as airing an episode of TLC's Extreme Cheapskates where a man goes to a local laundromat to collect ALL the lint from ALL the commercial laundry machines for his homemade fire starters.

It was a LOT of lint.........

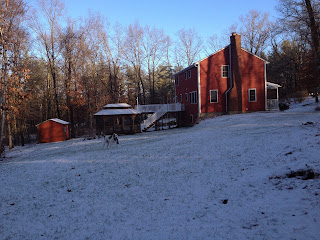
Now I love a cozy fire in the fireplace, but last I checked, I'm not exactly the female version of Mykel 
Hawke or Bear Grylls, so rubbing sticks together anytime I would like to get a fire going is not happening. 

We DO have traditional fire starters. These are some of my favorites. They are small, less messy, but still burn for about 12 minutes. They do have a strike pad on the back, but honestly, its crap. I use a candle lighter to set it ablaze, and it works beautifully. Right now, they are showing to be $8.96 online at Walmart.com.

However, I got to thinking about what we would do in an emergency situation. You know - that day your local forecast calls for 1-2 inches of snow and you get 6 feet.............AND you forgot to stock up on firestarters. You know, the "oh, crap!" situations that you hope you never have but still need to be prepared for.

So, I thought today would be as good a day as any (barring any 6 foot snowfalls) to try these suckers out. I have seen many blogs and websites with instructions on how to make fire starters. As a general standard, they all agree on two key elements:  EMPTY TOILET PAPER ROLLS  and  DRYER LINT.

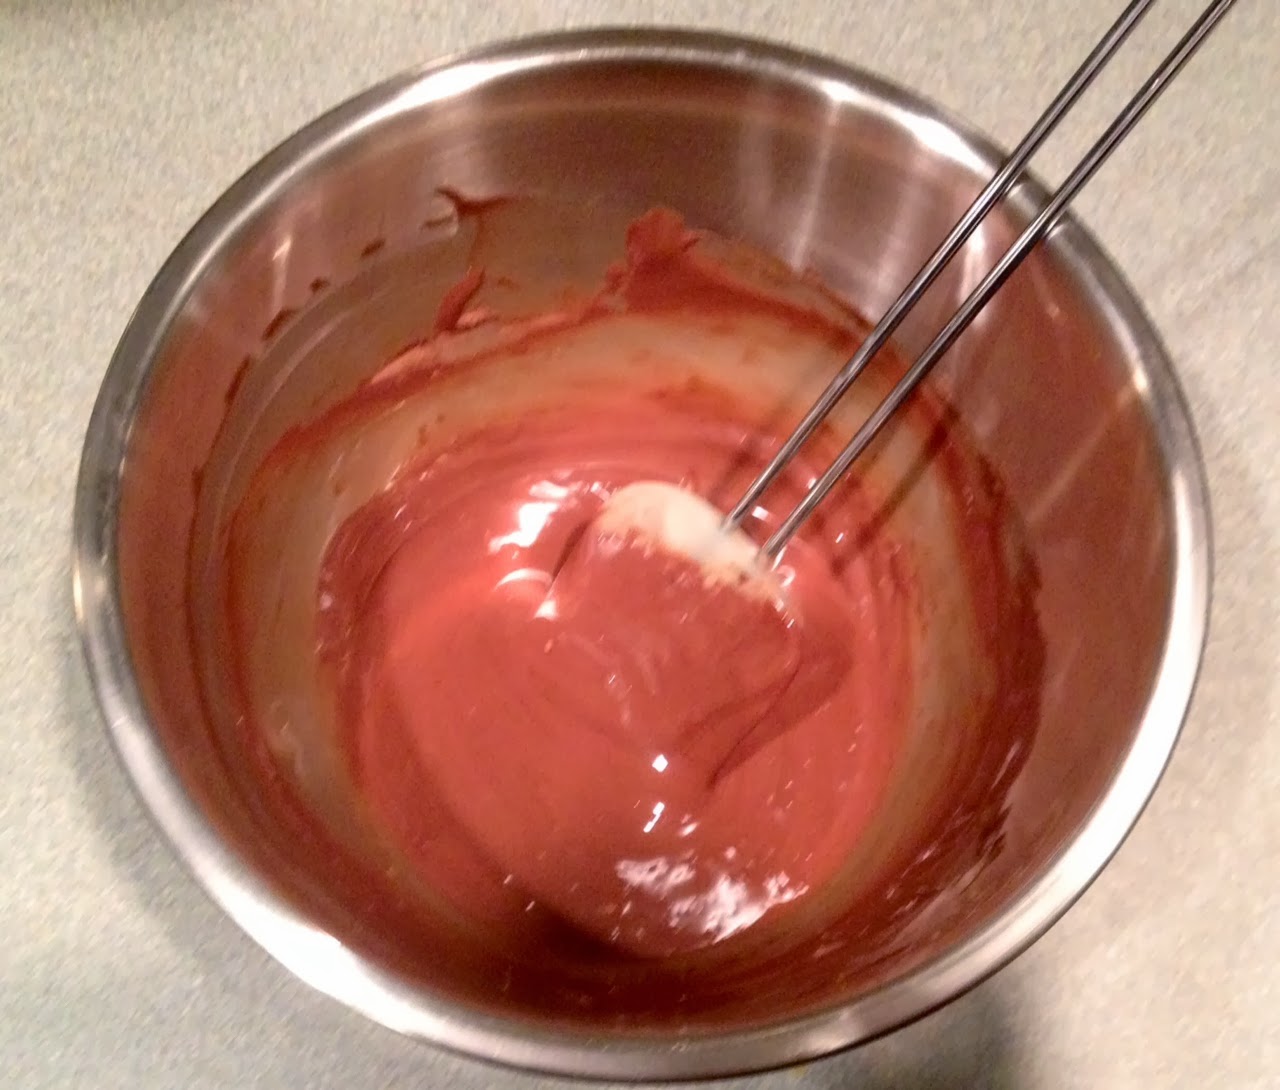
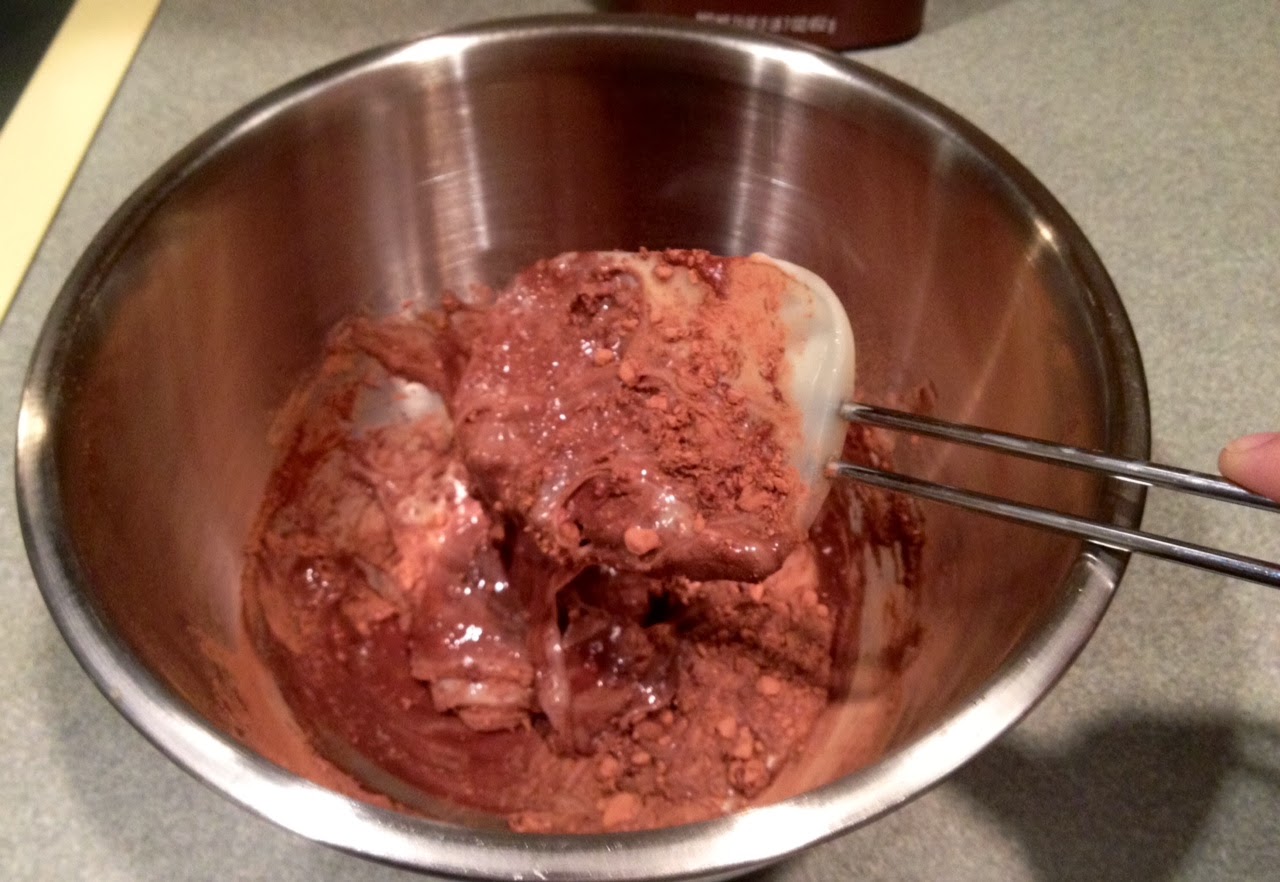
Lucky for me (and you, dear readers.....and you), I have been saving both up for a while, just for this auspicious occasion. I did what pretty much all the instructions said to do. I crammed the dryer lint into the cores of empty TP rolls.     


Since the lint tried to escape out the ends, I folded in the ends somewhat, which helped much more than I actually expected it to. And - Voila!! Five minutes, 2 TP roll cores and a huge handful of dryer lint and my homemade fire starters are ready for testing. Easy as...........well...............shoving dryer lint in an empty toilet paper roll.


I set up my logs with one of my new fire starters nestled between them, just as I would my fancy-schmancy, store-bought type.


I lit one end - it blazed up quickly. A good sign, if I do say so myself. I moved on to the other side and lit it, and then stood back. Unfortunately, after about 15 seconds, both flames went out completely, and they began to smoulder.


I figured they just had not been lit long enough to catch the lint, so I lit them again, holding my lighter on the lint itself long enough to catch it. No luck - within seconds of catching fire, the flame would again die out and smoulder profusely. I could NOT get it to catch. I eventually had to use one of my standard fire starters just to get the fire started.


(A trusty Strike-A-Fire fire starter at work)

 The worst part of the fire starters was discovered after the fire was going. Since the logs caught fire, the DIY fire starter was able to burn. Now, when I put the dryer lint into the tubes, it smelled like the Downy Fabric Softener I use. Even my hands smelled sweet from touching the dryer lint. However, as we have a dog, and our clothing inadvertently collects her fur, her fur is mixed into that dryer lint. As sweet as it smelled going into the fire, as it burned, it emitted a foul odor. Not just an "Eww, what stinks?" kind of smell........ It smells like I'm burning a dead body in my fireplace! My neighbors are going to think I'm running a backwoods crematorium, and as I haven't even had the chance to meet them yet, that doesn't bode well for making a great first impression! 


Has anyone else made their own fire starters? If so, what were your results? Did they work, or were they a bust like mine? I'd love to know if they worked, and if you know where I went wrong. I'm all for giving it another go, but next time sans stench-induced headache.

Thoughts, comments or questions? Leave them below!


Monday, February 3, 2014

Snow Days

...........Or, maybe just a hot chocolate, since it's only 2:30 in the afternoon! Sitting beside a fire, reading a book, sipping hot cocoa - that's my favorite way to spend a snowy day. What's yours?

An Orange A Week........Your Disposer Won't Stink!

So, over the last few years, I have been slowly moving away from standard household chemicals and begun utilizing more natural methods. I know many people who are doing the same thing, and I confess - my reasons may not be as "noble" as others.

Am I becoming more "green" to save the Earth? Honestly, no. Sorry - I love the Earth (Go Captain Planet!), but that's not fueling my desire for a greener cleaning regimen. Am I worried about the harm these chemicals are causing me and my family? Again - no. Pretty sure all the particulates in the air released daily by all the factories worldwide are probably a little more damaging to my lungs and general well being than my spray bottle of Krud-Kutter. Really and truly, my reason for wanting more natural cleaning products is two fold: I hate the chemical smell, and I hate the chemical cost.

Like I said - it's not a noble cause, but it is a good reason in my book. I HATE when my house smells like various bottles of chemicals. My nose burns, I get headaches, I sneeze.......so my house may be clean but I feel like crap. Top that off with the outrageous price of cleaners these days.

I think the coup de gras was when I went to the store not too long ago and saw Windex advertising one of their new products - with VINEGAR......and a spiffy price mark-up. Seriously??? Vinegar is an AGE-OLD window cleaner (which works quite well, thank you). Oh, and get this: a 26 ounce bottle of Windex Multi-Surface Vinegar spray costs $3.69 (meaning a gallon will run you $18.17), while a gallon of store-brand white vinegar goes for just $2.49.

So, I'm going to buy the vinegar, which I can use to clean my windows AND a vast number of other household chores (some of which can be found on this awesome cheat sheet, which you can download for free at Curbly.com)!


And now, I'm going to take a step OFF my soapbox, because I do have a nifty trick to share with you, and it does involve vinegar.

Something most of you probably don't know about me is that I have a very poor sense of smell. I have other senses that compensate for it, but the smell sense is completely jacked up. Because I cannot always smell things such as unsightly kitchen odors, for example, I try to stay a step ahead of them. As someone who cooks a lot, I find that my garbage disposer is a much used appliance. And like any appliance, it needs to be cleaned. Below is a very easy, inexpensive, and green way to clean your garbage disposal.

*Exercise care when cleaning your garbage disposer! Do NOT stick your hand, foot, head, bodily appendage, or anything else not intended to be utterly obliterated down a garbage disposer while it is running! I don't want anyone to be pulling off a Monty Python 'It's just a flesh wound' skit in a literal sense for Halloween.*

Materials needed: 

1/2 cup Baking Soda
1/2 - 1 cup Vinegar
A Few Citrus Peels
Handful of Ice Cubes


Begin by ensuring your sink is cleaned out (i.e., no dishes, silverware, food, etc.). Run hot water down the drain for around 30 seconds to loosen any solidified grease / food particles. Turn off the water and pour baking soda down the disposer opening.


Next, SLOWLY pour the vinegar down the disposer opening. As the two components are reacting - think 4th grade science volcano experiment - turn on the garbage disposer and run for a 5-10 second burst.


 Turn it back off and allow the vinegar / baking soda mixture to complete its reaction.


Once finished, run hot water down the disposer opening and turn the disposer on. While both are running, drop citrus peels, one at a time, down the disposer.


Approximately 30 seconds AFTER you can no longer here any peel being chopped up inside the disposer, turn the water off (leave the disposer on), and drop a handful of ice cubes down the disposer opening. These are going to do a final "walk-through" if you will, dislodging any stubborn particles still stuck on the blades. Once they have been chopped up, turn the disposer off and revel in the the citrus clean smell.


Oh, and just a few tidbits I'd like to point out here.

Vinegar has been found to have both antiviral and antibacterial properties. Click HERE for a research report published in the US National Library of Medicine. Click HERE for an open access research article published by OMICS Publishing Group

Citrus Oil has been found to have both antiviral and antibacterial properties. Click HERE and HERE for research reports published in the US National Library of Medicine.

I just wanted to share this information so that you can feel confident that you are CLEANING your disposer - not just masking odors with scents. The chemical reaction between the vinegar and baking soda work to remove buildup in the disposer. The baking soda itself helps to absorb odors, and the vinegar kills germs. Then, grinding up the citrus peels gives you a second shot of antibacterial cleaning, some citrus oil to help lube everything up, and a great scent to top it off with. 


Snow Ice Cream in New England

Happy February everybody! I hope you all had a wonderful Holiday Season. I know I haven't posted in a while, but I promise I have a very good reason:

We bought a home this November!

But, as joyous an occasion as this has been, it was not just as simple as buying a home and moving in at our leisure. No - of course not. That would be FAR to easy.


 My husband was out of the country on business for the 2nd week of November, so the week prior was spent preparing for departure. While he got to spend a week in a half in the beautiful country of Japan, I lived in the not-so-beautiful country of corrugated cardboard boxes. They were EVERYWHERE. This picture with boxes - this was when I had just started.......this was when I still had some shreds of sanity. This was before the boxes took over. It was not pretty, I tell you. Not pretty at all. But, I digress.


The closing of our house, our move, and our turning over of our rental house was all scheduled during the 3rd week of November. 


The last week, our wonderful friends flew in to visit for a week, help us unpack, and celebrate Thanksgiving.


Nothing like a busy schedule, right?!?


The first week of December John and I spent unpacking more boxes and getting a pantry set up in the basement.

The 2nd week of December, my husband had to venture to D.C. on a business trip. I continued the seemingly never-ending task of unpacking boxes. Happily, they finally stopped regenerating. 

The 3rd week of December was spent chaotically preparing for our 22 hour drive to Northwest Arkansas to spend the holidays with our family and friends, and then the following two weeks were spent enjoying that time with them.

But, now we are back home. Things have calmed down, our home is fairly organized (at least enough to keep my OCD at bay), and I finally have the time to sit down and talk to my computer screen like a mad woman. 

Now, when John and I moved to New England from Northwest Arkansas, I expected a big difference in weather. I expected we would get much more snow. What I did not expect, however, is we would get a different TYPE of snow.


I know, I know - you're probably  thinking I'm nuts (and I am - a little) by saying that there is different types of snow. Snow is snow. Right? WRONG! I'm not talking the ever important difference between white snow and yellow snow. No - what I discovered is that here in New England, we get POWDER SNOW! 

"Powder Snow? Why, Melissa - what on Earth is that?"

Dear Readers, I'm SO glad you asked! Let me explain. Back in Arkansas, we did get snow. Usually not a lot, and it was always quick to melt away, but we did get it. The vast majority of the time, it was wet snow and it came down it larger, harder pellets rather than soft, feathery flakes. It stayed frozen longer, but maintained a great deal of moisture, lending itself more to building snowmen, igloos, and awesome snowball fights.

However, once in a while, we would get really lucky, and the snow would float down like down from a pillow. It would be the tiniest little particles, all dry and powdery and fluffy. Those times were glorious, because my Dad would go outside, scoop up big bowls of the powdered snow, and a very short while later, we would be enjoying our own customized bowl of snow ice cream. As simple a thing as it is - making snow ice cream with my Dad - it is a childhood memory of mine that I truly cherish.

The other day, while it was raining down some of our luscious powder snow, I spent a peaceful afternoon cuddling with Bella, watching the large fluffy flakes swirl around outside. That evening, I took advantage of the fresh, clean snow and made batch of yummy goodness from my childhood.

In the past, I have tried using the various recipes that call for milk and sugar, but in the end, I personally find they require much more snow to prevent them from being watery. I do not know where or when or how I came across this recipe, but here is how I make it.

An Old Soul's Chocolate Snow Ice Cream

6-8 cups clean powder snow*
7 oz. sweetened condensed milk
1/4 c. unsweetened cocoa powder
1 T. vanilla extract


This is a SUPER simple process - the key is to mix the "sauce" ingredients first, and then slowly incorporate the snow. Otherwise, you will have a heck of a time getting the cocoa powder and condensed milk incorporated evenly into both the snow and each other. And honestly, there is nothing delicious about a big bite of unsweetened cocoa-covered snow. Blech!

Mix your ingredients in a large mixing bowl. I use a rubber spatula to help smooth out lumps and incorporate the snow evenly. You can use a whisk for the chocolate sauce portion if you prefer. 


Once the sauce is smooth, go outdoors and gather a large bowl full of snow. Six to eight cups should be plenty. You will most likely not use all of it, but it's better to not have to stop in the midst of blending the ice cream to get more snow, so I always get more than I need.


**As a side note here: Please don't be stupid. There is a reason that Blue Bell has not released the hit flavor "Twigs and Moss" or "Dirt Surprise".......... The ONLY snow you want is fresh, untouched, CLEAN snow. Not snow by the side of the road or walkway where car exhaust or slush has contaminated it. Not snow near Fido's stomping grounds. Not even snow that has been sitting for a week undisturbed.........you want the freshest, purest stuff because you DON'T want to get sick. And as with anything - if you aren't 100% comfortable and confident that what you are putting into your mouth is safe - don't do it. I don't want to have to accept a Darwin Award on your behalf just because you read my blog and didn't exercise a smidge of common sense.**


Scoop 1-2 cups of snow into the sauce mixture and mix thoroughly. The mixture will resemble chocolate sludge. Or, at least what I envision chocolate sludge would look like, if there were such a thing......Perhaps a waste product at Willie Wonka's? 

Continue adding snow and mixing, blending completely after each addition. The sauce / snow mixture will become "sandy" and "clumpy" at first. This is normal. Keep mixing, then add more snow.

As the ice cream thickens, you may notice some of the snow you add begins remain white. This is where the spatula comes in very handy. Use it to smooth the white clumps into the rest of the snow. With a little spatula love, the rogue snow will easily assimilate.
 
The mixture will eventually become very thick and "sticky" - that is, it will clump together into a solid mass. It will no longer have individual clumps or sandy particles, but will be uniform and have a solid-wet appearance and a creamy texture when smoothed. 


 Now, the best part - dish it up and ENJOY! You can top it with your favorite toppings, or eat it as is. Play around with different flavors, too! For me, nothing beats using Hershey's Dark Cocoa powder in this recipe, because I am a chocolate freak. But, if you're not a fan of chocolate, why not try some strawberry milk flavoring instead? Or maybe some orange oil and vanilla for a creamsicle flavor? What is your favorite ice cream flavor? Leave your comments below and let me know what your thoughts are!